Turkey Congee in the Instant Pot

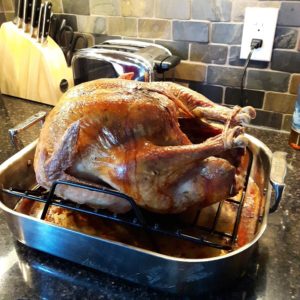
After Christmas dinner was done, the remains of an 18 lb turkey were begging for some inspiration. Being a little lazy and needing a meal that could cope with frozen leftovers, turkey congee seemed like a suitable choice. I sort of defrosted the turkey carcass in the oven (at the same time roasting it) and it turned out beautifully.

Prior to roasting the turkey, I dried brined it for a few days and threw some kosher salt, black pepper and lemons into the cavity. I didn’t have to season the congee much after it was done cooking, as all the wonderful flavours from inside the carcass and the umami from roasting the bones did the job.

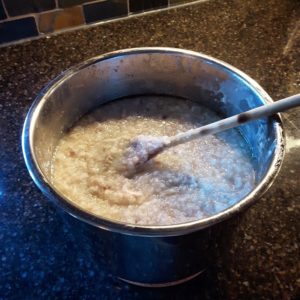
It seems to be, like all congee that I’ve made in the Instant Pot, a little thick. To make it less thick, add some hot water prior to serving or cold water before reheating in the microwave or on the stovetop.

My toddlers were begging for seconds. I knew then, it was a winner!

IMG_20161225_135408_907
Roasted turkey
Roasted turkey congee


Print Recipe
Turkey Congee in the Instant Pot
Prep Time 10 minutes
Cook Time 90 minutes
Passive Time 75 minutes
Servings
cups
Ingredients
Prep Time 10 minutes
Cook Time 90 minutes
Passive Time 75 minutes
Servings
cups
Ingredients
Instructions
  1. Add rice to pot.
  2. Roast turkey carcass in the oven at 400 F for 30 minutes or until aroma develops. Let cool and break it up into pieces to fit the pot. Add to pot.
  3. Peel and julienne ginger. Add to pot.
  4. Add water and sesame oil.
  5. Cover and set to porridge for 40 minutes. 15 minutes NPR and then vent if preferred or NPR until float drops.
  6. Remove the carcass. Peel the meat off and add back to pot if desired. Stir in the extra turkey meat. Add salt to taste. Mind the bones that might be left!
Share this Recipe
 

Instant Pot Tips with Butter Chicken Recipe

Update: Originally posted on November 30, 2016. Edited to help my many friends new to the Instant Pot.

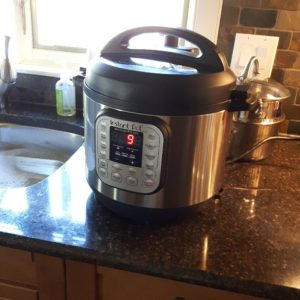
So Amazon.ca had a Black Friday deal for the Instant Pot IP-DUO60 7-in-1 multifunction cooker. I bought one of these way back in July on Prime Day. For my new round of soon to be Instant Pot lovers, here are some of my more successful recipes. I live in Calgary, Alberta and there is a small adjustment for altitude with some of my recipes.

Here are some tips.

  1. Read the instructions. The control panel is not that intuitive. But if you read the instructions, you won’t get any surprises.
  2. Amy and Jacky’s website is a great resource for pressure cooking. Check out their tips for beginners. Go over the acronyms before reading the rest of this post.
  3. The steam from the vent is very hot. I would not set the cooker underneath your kitchen cupboards. I might add, if you prefer to QR, set the pot under the hood fan prior to cooking.
  4. Here are some more tips on venting. It’s a pressure cooker. Which means that contents are under pressure.  The pressure must be released before the lid is opened.  So I’ve read recently somewhere that you are not supposed cover the vent while QRing.  Originally there was no indication that it was against the manufacturer’s advice when I started doing this.  This is what I do, and I still do it, without issue. I recommend that you follow the manufacturer’s advice, not necessarily mine.  If you are really in a hurry then you can QR right after the cooking time is done. To do this, cover the vent loosely with a dry dish towel. Use a wooden spoon to slowly nudge the vent open. Close it if the water and steam come out too fast. Repeat this step a couple of times until the pressure eases enough that the vent can be left fully open.
  5. My preferred venting method is 10 minutes NPR, followed by a QR. Under the hood fan if the pot is at least two thirds full.
  6. It says that it only takes xx minutes to cook? Really!?!
    No. Not really. It takes between 5-15 minutes to warm up. Depending on how full the pot is.  Then I usually wait 10 minutes after it’s done so I don’t get scalded when trying to open the vent. How full the pot is determines how long it will take for the pressure to drop. I would add at least another 15 minutes using the 10 min NPR and vent method. Longer on the back end if the pot is close to full.
  7. It’s a very safe pressure cooker. I’ve tried opening it (by accident) when the float was still up and it wouldn’t let me do it. Having said that, I have had a few mishaps. It’s not the Instant Pot, it’s just me.
  8. Don’t close the lid while sauteing.
  9. If you are slow cooking, you don’t need to completely cover your meat with liquid.
  10. If you like to slow cook and serve say, mulled apple cider at a party, I would use a regular pot lid that fits the inner pot. Leave the pot on keep warm and let the guests serve themselves. The regular lid is awkward for beginners to use.
  11. If you are steaming, put at least 1 cup of water in the bottom. Then add a trivet.
  12. Most recipes on the web don’t adjust for altitude. This might matter in some cases. I’ve found, for example, I need more water for steel cut oats. Also more time.
  13. Here’s some fail safe rice recipes. I haven’t tried any of them. I’m sure they are fine at sea level.
  14. Burning question (Literally!) Have I had any cooking accidents? Yes! One time I got distracted and accidentally put 1/2 a cup of rice into the pot without the inner pot. Then I dumped the other 1/2 into the inner pot, put the pot on the element, added water and turned it on. Oops! Cue burning smell. And another Instant Pot. I also managed to steam veggies on low in 1/2 cup of water. That didn’t work so I tried it again on high. By then all the water was gone and all I heard were some clunking noises. Of the trivet vibrating on the bottom of the pot. Moral of the story: add 1 cup of water. I’ve also dropped a pot liner and made a dent in it. I contacted customer service and they said it was A-ok to use!

Instant Pot IP-DUO60

Recipes

Here is a selection of mostly my own recipes that I have used successfully in Calgary. Your mileage may vary. Comment on my Facebook page if you would like more recipe suggestions. I’m currently working on converting my Bengali Daal recipe. I’ve tried Lu rou fan (Taiwanese beef stew), Bo kho  (Vietnamese beef stew), pho, chili, congee, see yau kai (soy sauce chicken), beef and barley soup, pulled pork, baked beans, spaghetti bolognese, Mexican carnitas, beef stroganoff, BBQ ribs, barbacoa de cordero (lamb Mexican style), and cassoulet. There, I just went through my whole recipe binder.

I’ve also included my butter chicken recipe, a twist on an all time favorite of mine. Warning – it is a fusion style recipe. Scroll way to the bottom for this one.

Grains
Steel cut oats
Jasmine rice
Wild rice blend
Bulgur

Beans
French lentils

Vegetables
Carrots
Cauliflower
Potatoes

Protein
Hard boiled eggs
Pulled pork

Soup Style
Turkey congee
Cassoulet

Steel cut oats

I eat steel cut oats for breakfast every morning. Once a week, I whip up a large batch and store it in the fridge. I like mine creamy/chunky and definitely not dry.

1 1/3 cups oats                       2 1/3 cups oats
2.5 cups water                         7.5 cups water (1775 ml)

Manual low pressure for 10 minutes, natural release 12 minutes then vent

Carrots for kids
Use large square glass dish with trivet & 1 C of water in the pot
6 min manual, high pressure, natural release

Potatoes
14 min. steam on high

Cauliflower
3 min manual, high, quick release

Jasmine rice
1 C rice to 1.25 C water
Rice setting, 10 min natural release

Wild rice blend

I whipped up some wild rice pilaf this past Thanksgiving. Last year it took me over an hour on the stovetop. Of constant watching and stirring.

1 cups wild rice
1 cups wild rice blend
4 cups water

Manual low pressure for 30 minutes, natural release 10 minutes then vent

French lentils
1 C lentils
2 C water 15 minutes manual high pressure, natural release 10 minutes then vent

Bulgur
1 C bulgur (wheat berries)
3 C water 25-30 minutes manual high pressure, natural release 10 minutes then vent
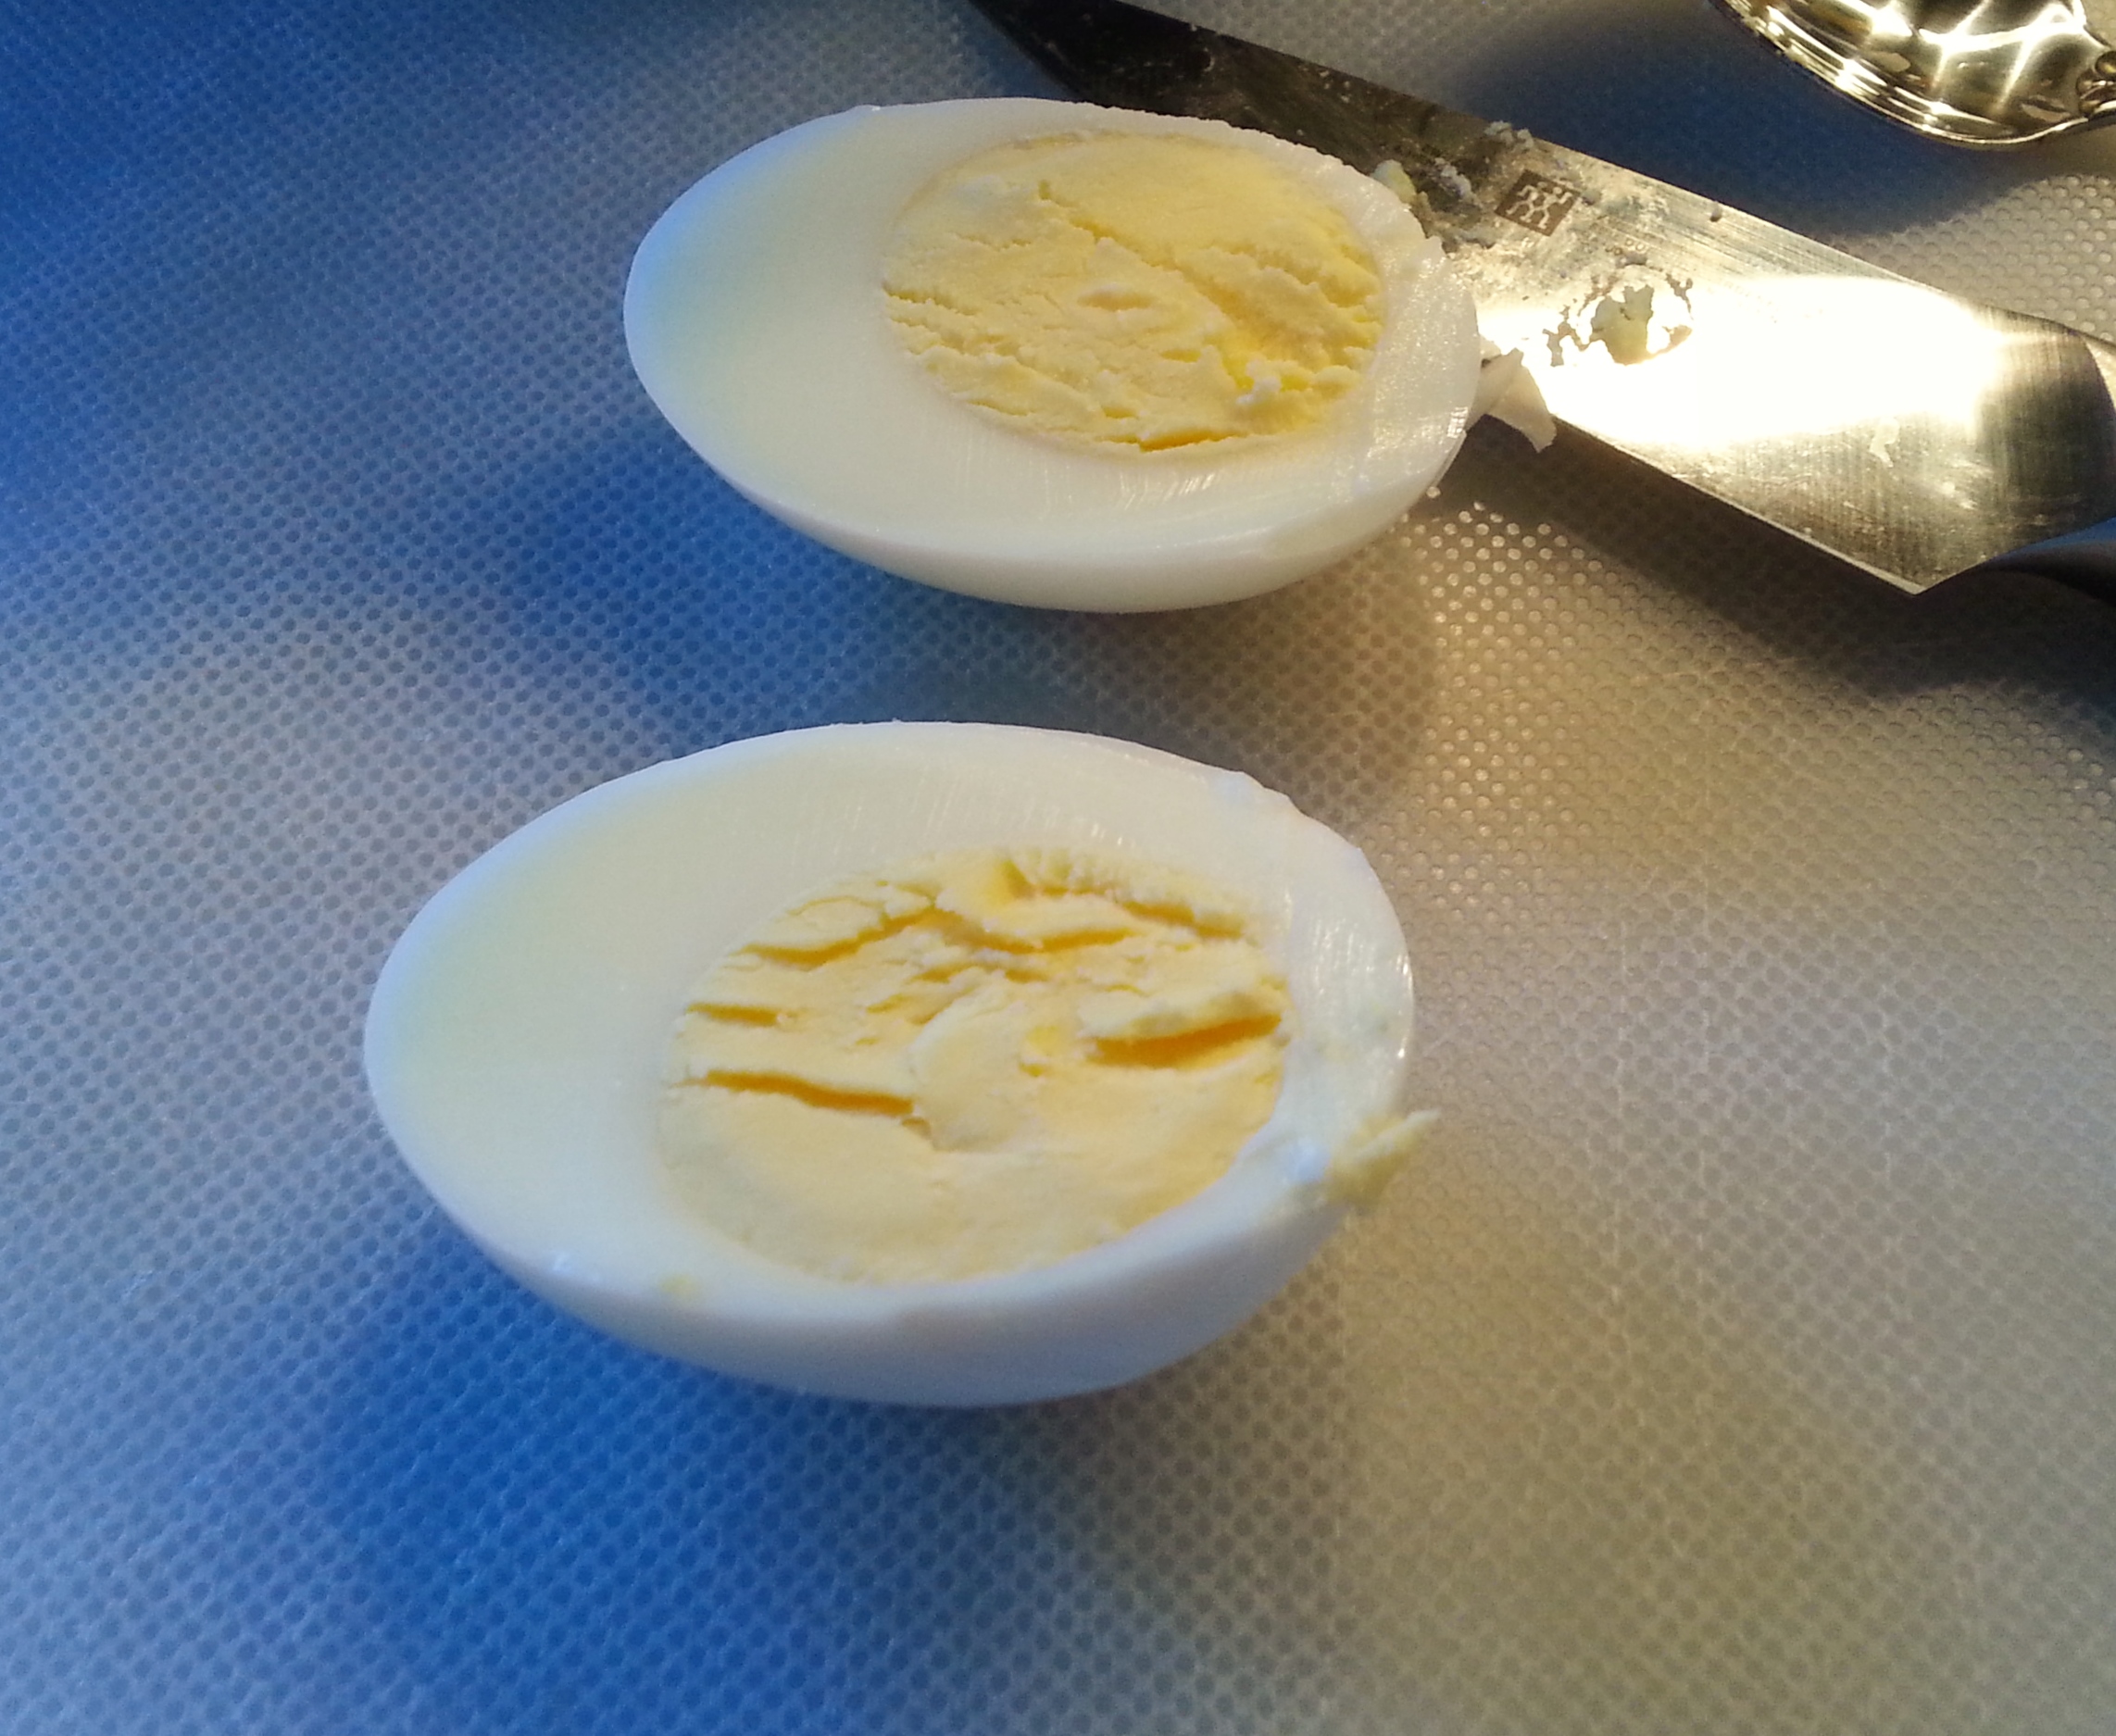
Hard boiled eggs
Pour one cup of water into the pot. Place eggs on rack that came with the pot, or use a steamer basket. 5 minutes on high then vent. Rinse with cold water so I could handle them and voila! Perfect eggs.

Pulled pork

I really liked this  root beer pulled pork. recipe  It has a hint of root beer flavour with a vanilla aftertaste. It sounds strange but it works.

Print Recipe
Fusion Butter Chicken for Instant Pot
Butter chicken is a lovely dish, but time consuming to cook it properly. This recipe works well with the Instant Pot. The original version takes me about an hour on the stovetop.
Prep Time 20 minutes
Cook Time 15 minutes
Passive Time 55 minutes
Servings
people
Ingredients
Prep Time 20 minutes
Cook Time 15 minutes
Passive Time 55 minutes
Servings
people
Ingredients
Instructions
  1. Cut chicken into 1 inch pieces. Put into a bowl and add ginger, garlic, red chili powder, turmeric, tandoori powder and salt. Mix well and let sit in the refrigerator for 30 minutes, or overnight.
  2. Before cooking, take out the chicken and let it stand for 10 minutes to come to room temperature. In the Instant Pot, turn on saute and melt 2 tbs of the ghee. Add the crispy fried onions and the chicken. Saute until the chicken is golden brown, just a few minutes. Add one cup of warm water.
  3. Turn off the saute and pressure cook manually on low for 10 minutes.
  4. Natural pressure release for 5 minutes, then open vent.
  5. Meanwhile, heat the remaining butter in a skillet over medium high heat. Add the raisins and the blanched almonds and saute for 1 minute, then set aside.
  6. When the float has dropped on the Instant Pot, open the lid and add one cup of cream to the chicken, then Worchestershire sauce, sugar, cardamom and nutmeg. Stir.
  7. Scoop tomato paste into a medium bowl. Ladle a cup of the sauce into the bowl and mix until well combined. Add back into the pot and stir.
  8. Stir in the reserved raisins and almonds. Serve.
Recipe Notes

Serve with basmati rice. Done in the rice cooker, of course.

Adapted from Simply More Indian & Patrick Dunn

Share this Recipe
 

Hardboiled Eggs

I made deviled eggs yesterday and finally figured out how to hard boil them and make them easy to peel at the same time. The eggs also do not have a grey ring around the yolk, which is caused by overcooking. It takes about half an hour, but the results are worth it! This is a combination of two methods, both which are referenced below.

Place eggs in a single layer in a saucepan and cover with enough water so that there’s 1 1/2 inches of water above the eggs. Heat on high until water begins to boil, then cover, turn the heat to low, and cook for 1 minute. Remove from heat and leave covered for 14 minutes

After the eggs have simmered, pour out the hot liquid, and shake the pan to crackle the shells. Next rinse it in cold water for about a minute. Leave the eggs in the cold bath for 15 minutes, enough time to allow the eggs to cool and the stinky sulfur inside the eggs to dissipate into the water. Peel the egg, under a stream of water if you prefer.

Read more at: Food Network’s deviled eggs

Also, here for tips on boiling the perfect egg.

20151231_150516